Identity Verifications
Learn about Identity Verifications and how to manage them in Iluminai.
Contents
Overview
Identity Verifications in Iluminai is an essential process to confirm your client's identity securely and efficiently, ensuring compliance with FINTRAC regulations. The platform provides two automated methods: Person Present, used when your client is physically present with you, and Person Not Present, for remote verifications through an emailed link. Both methods utilize advanced digital scanning and verification, offering quick and accurate identity verification.
This article explains verification statuses, demonstrates how to manage requests effectively, and provides instructions for accessing, resending, or cancelling Identity Verifications.
Identity Verification statuses
| Status | Description |
|---|---|
| Pending | The verification link has been sent to your client and is awaiting action. |
| Started | Your client has opened the verification link and begun the identity verification process. |
| Completed - Success | The identity verification was successfully completed and the client data is available in the form. |
| Expired | The verification link is expired after 48 hours due to client inactivity. |
| Unexpected Error | An issue occurred during the verification process. Please resend the verification link or contact support if the issue persists. |
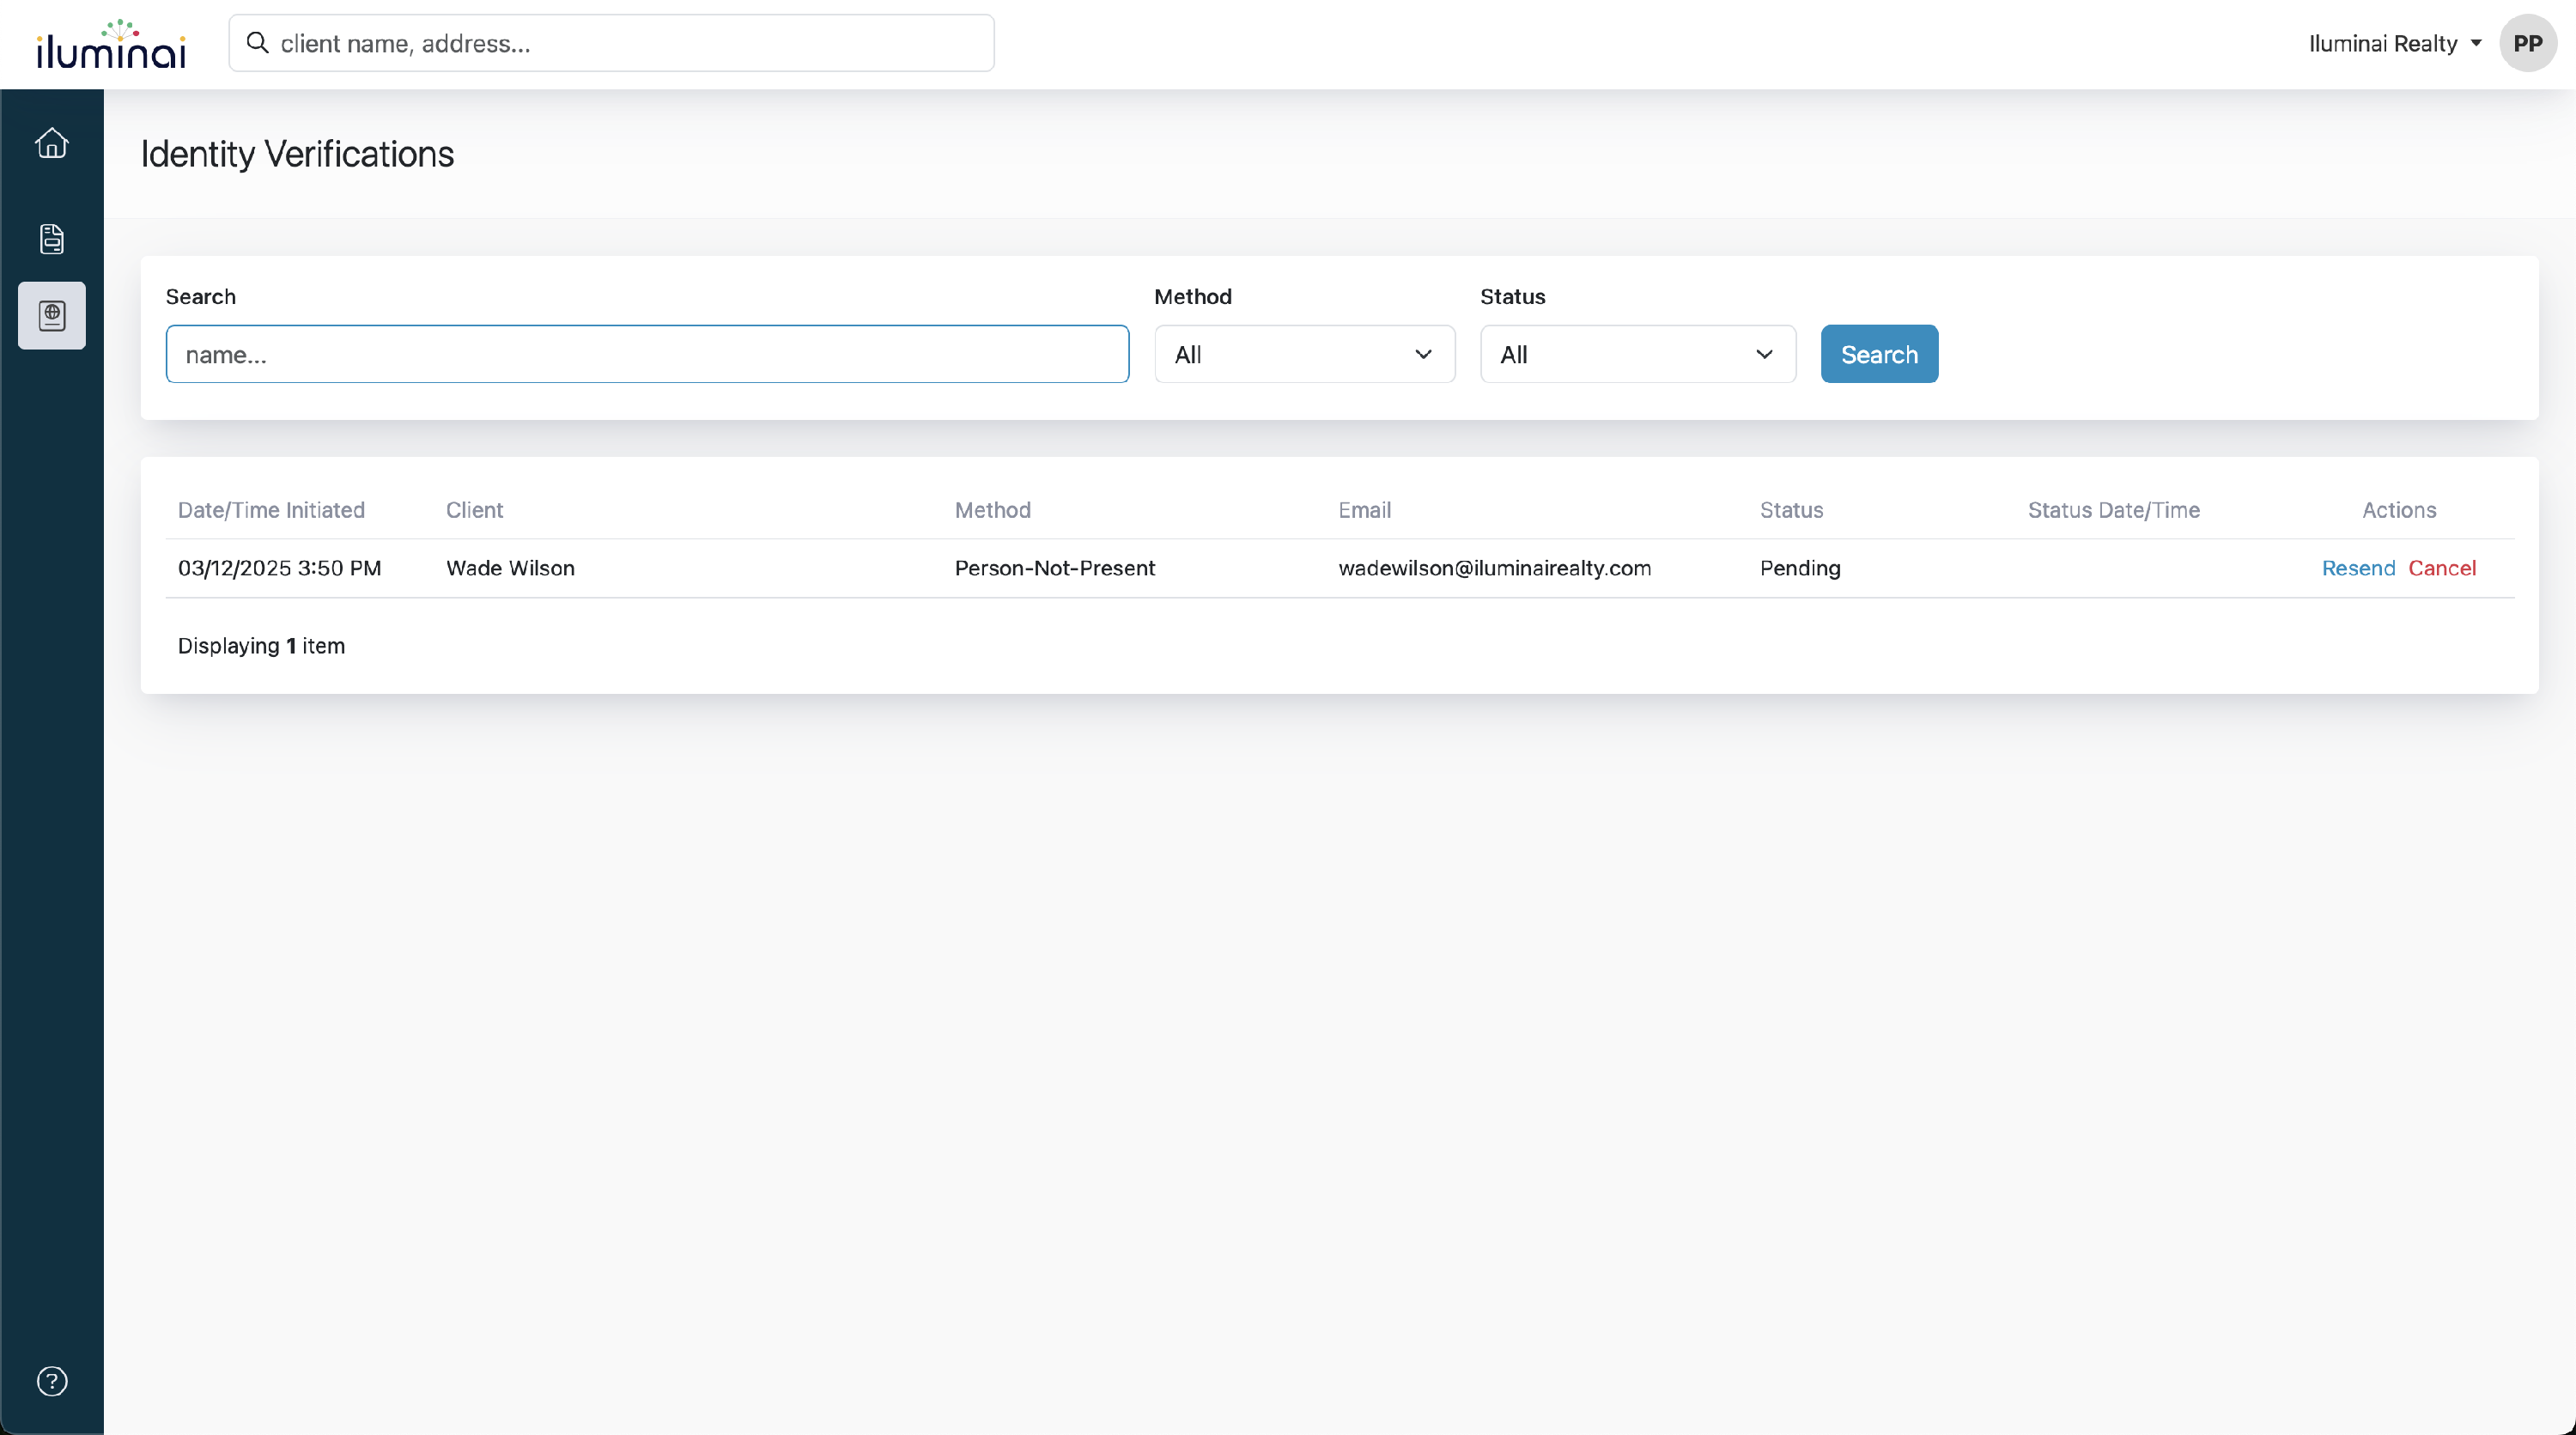
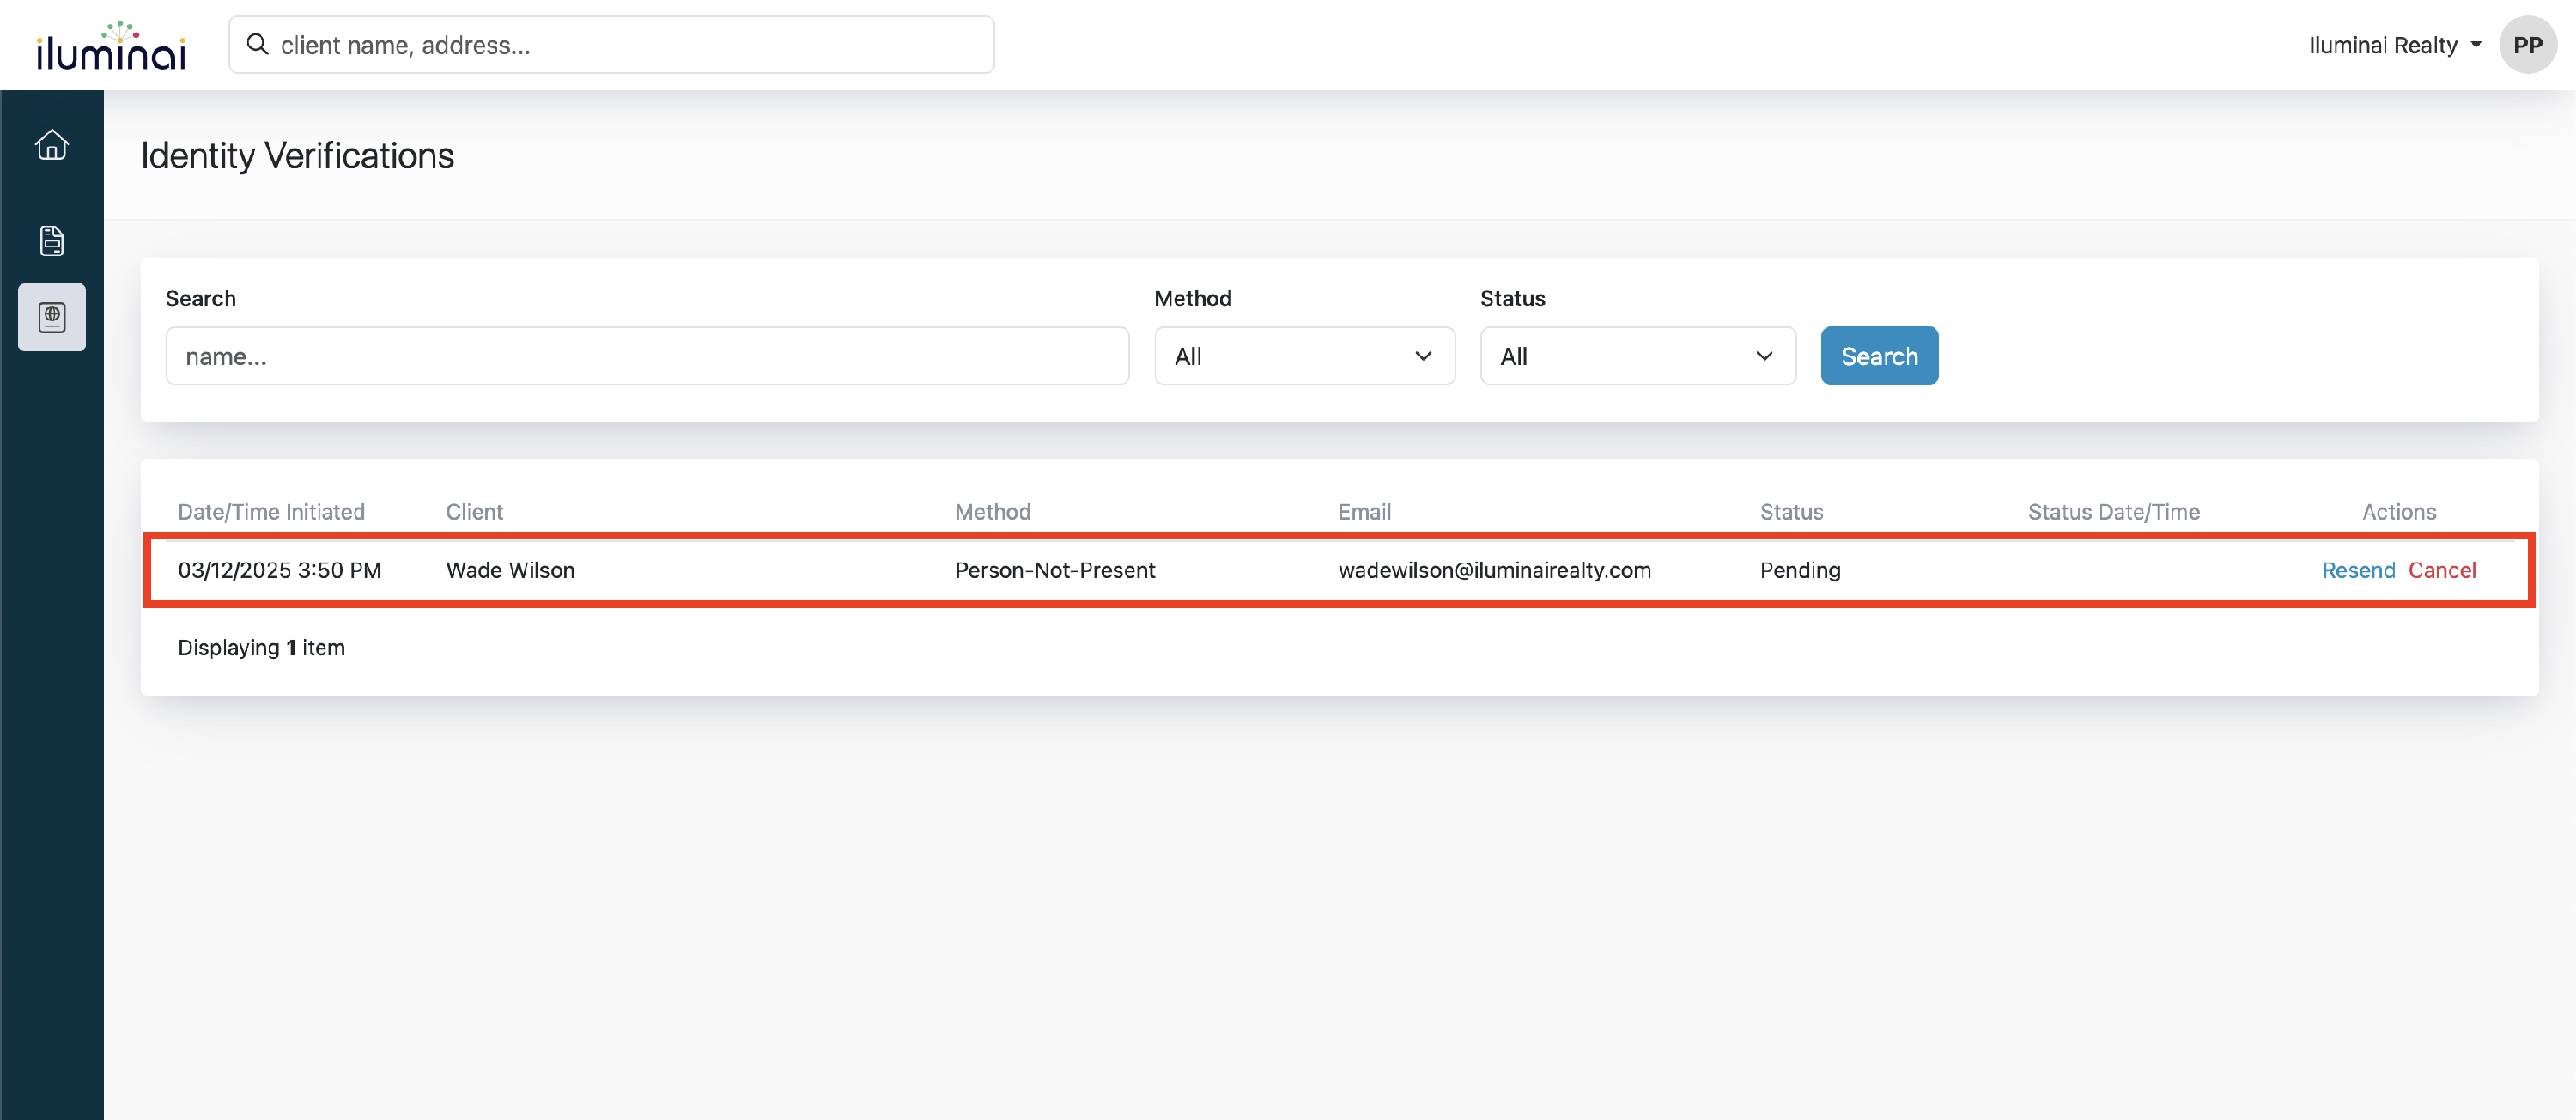
Accessing Identity Verifications
- Navigate to the Identity Verifications section in the left navigation bar

- You'll see the Identity Verifications overview, showing client details, verification methods, statuses, and available actions
Cancelling an Identity Verification
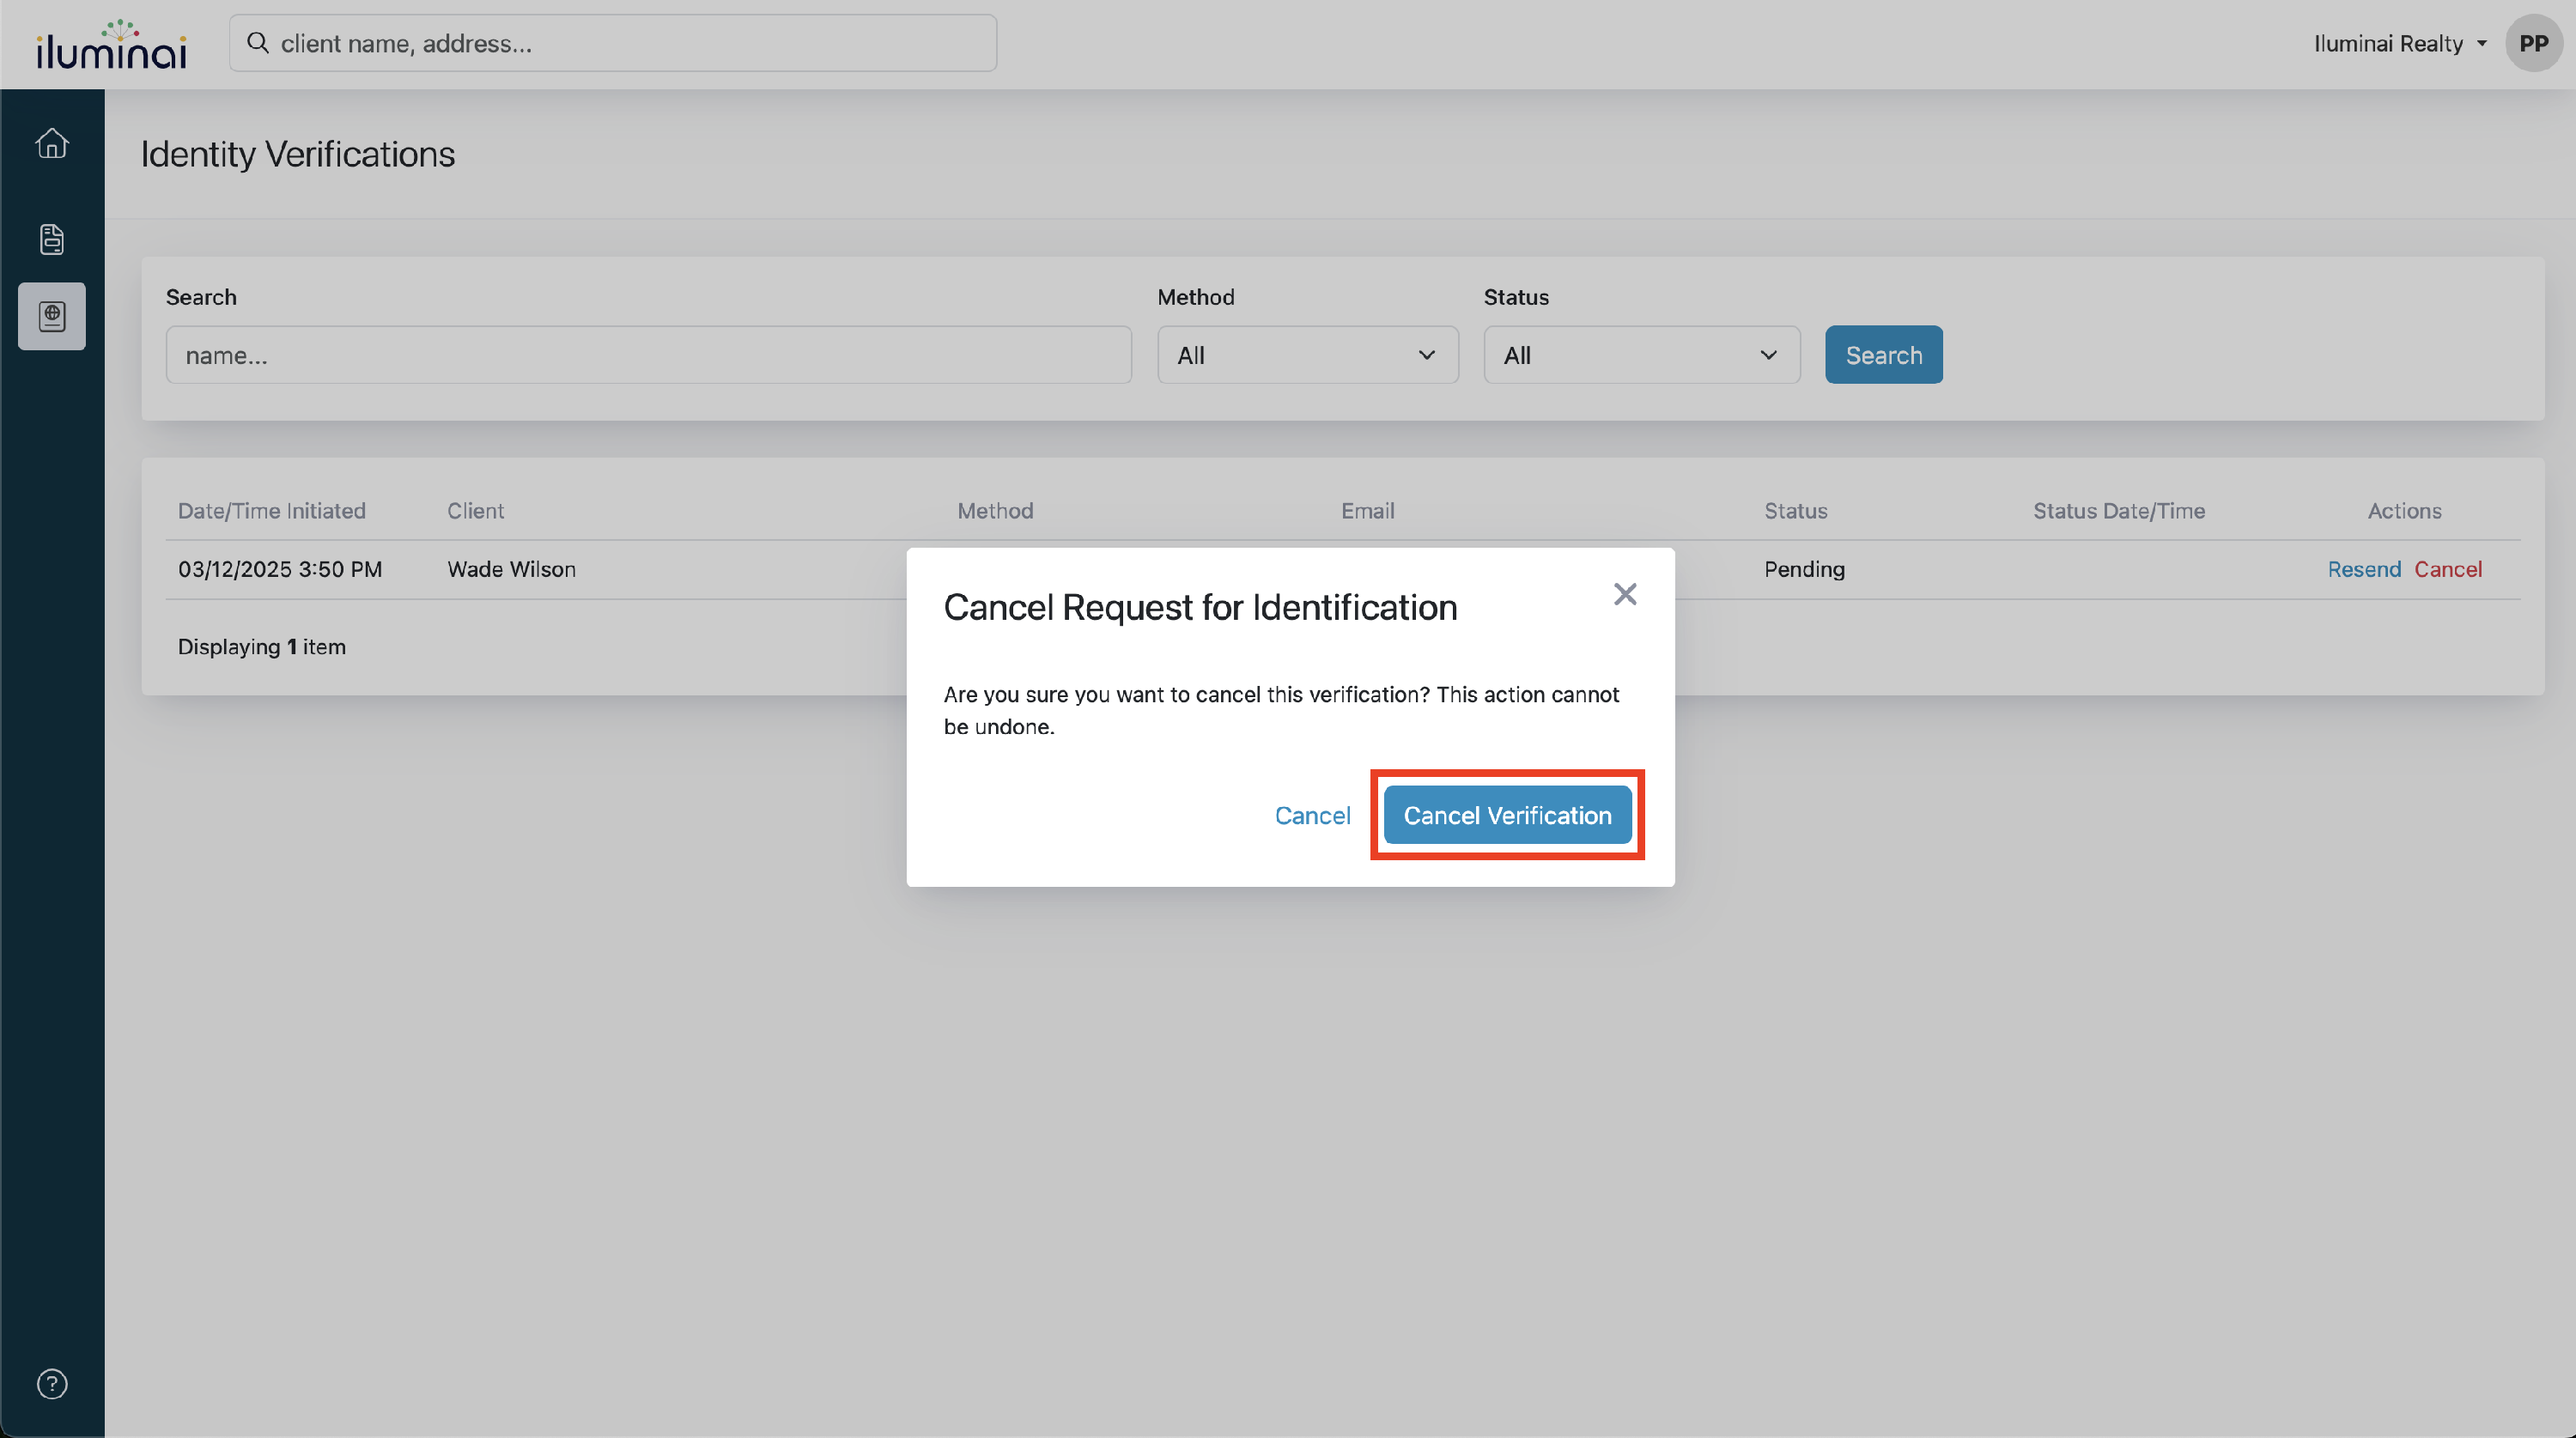
To cancel a Pending Identity Verification request, follow the steps below:
- Locate the Pending Identity Verification you wish to cancel
- Under Actions, click the red Cancel link
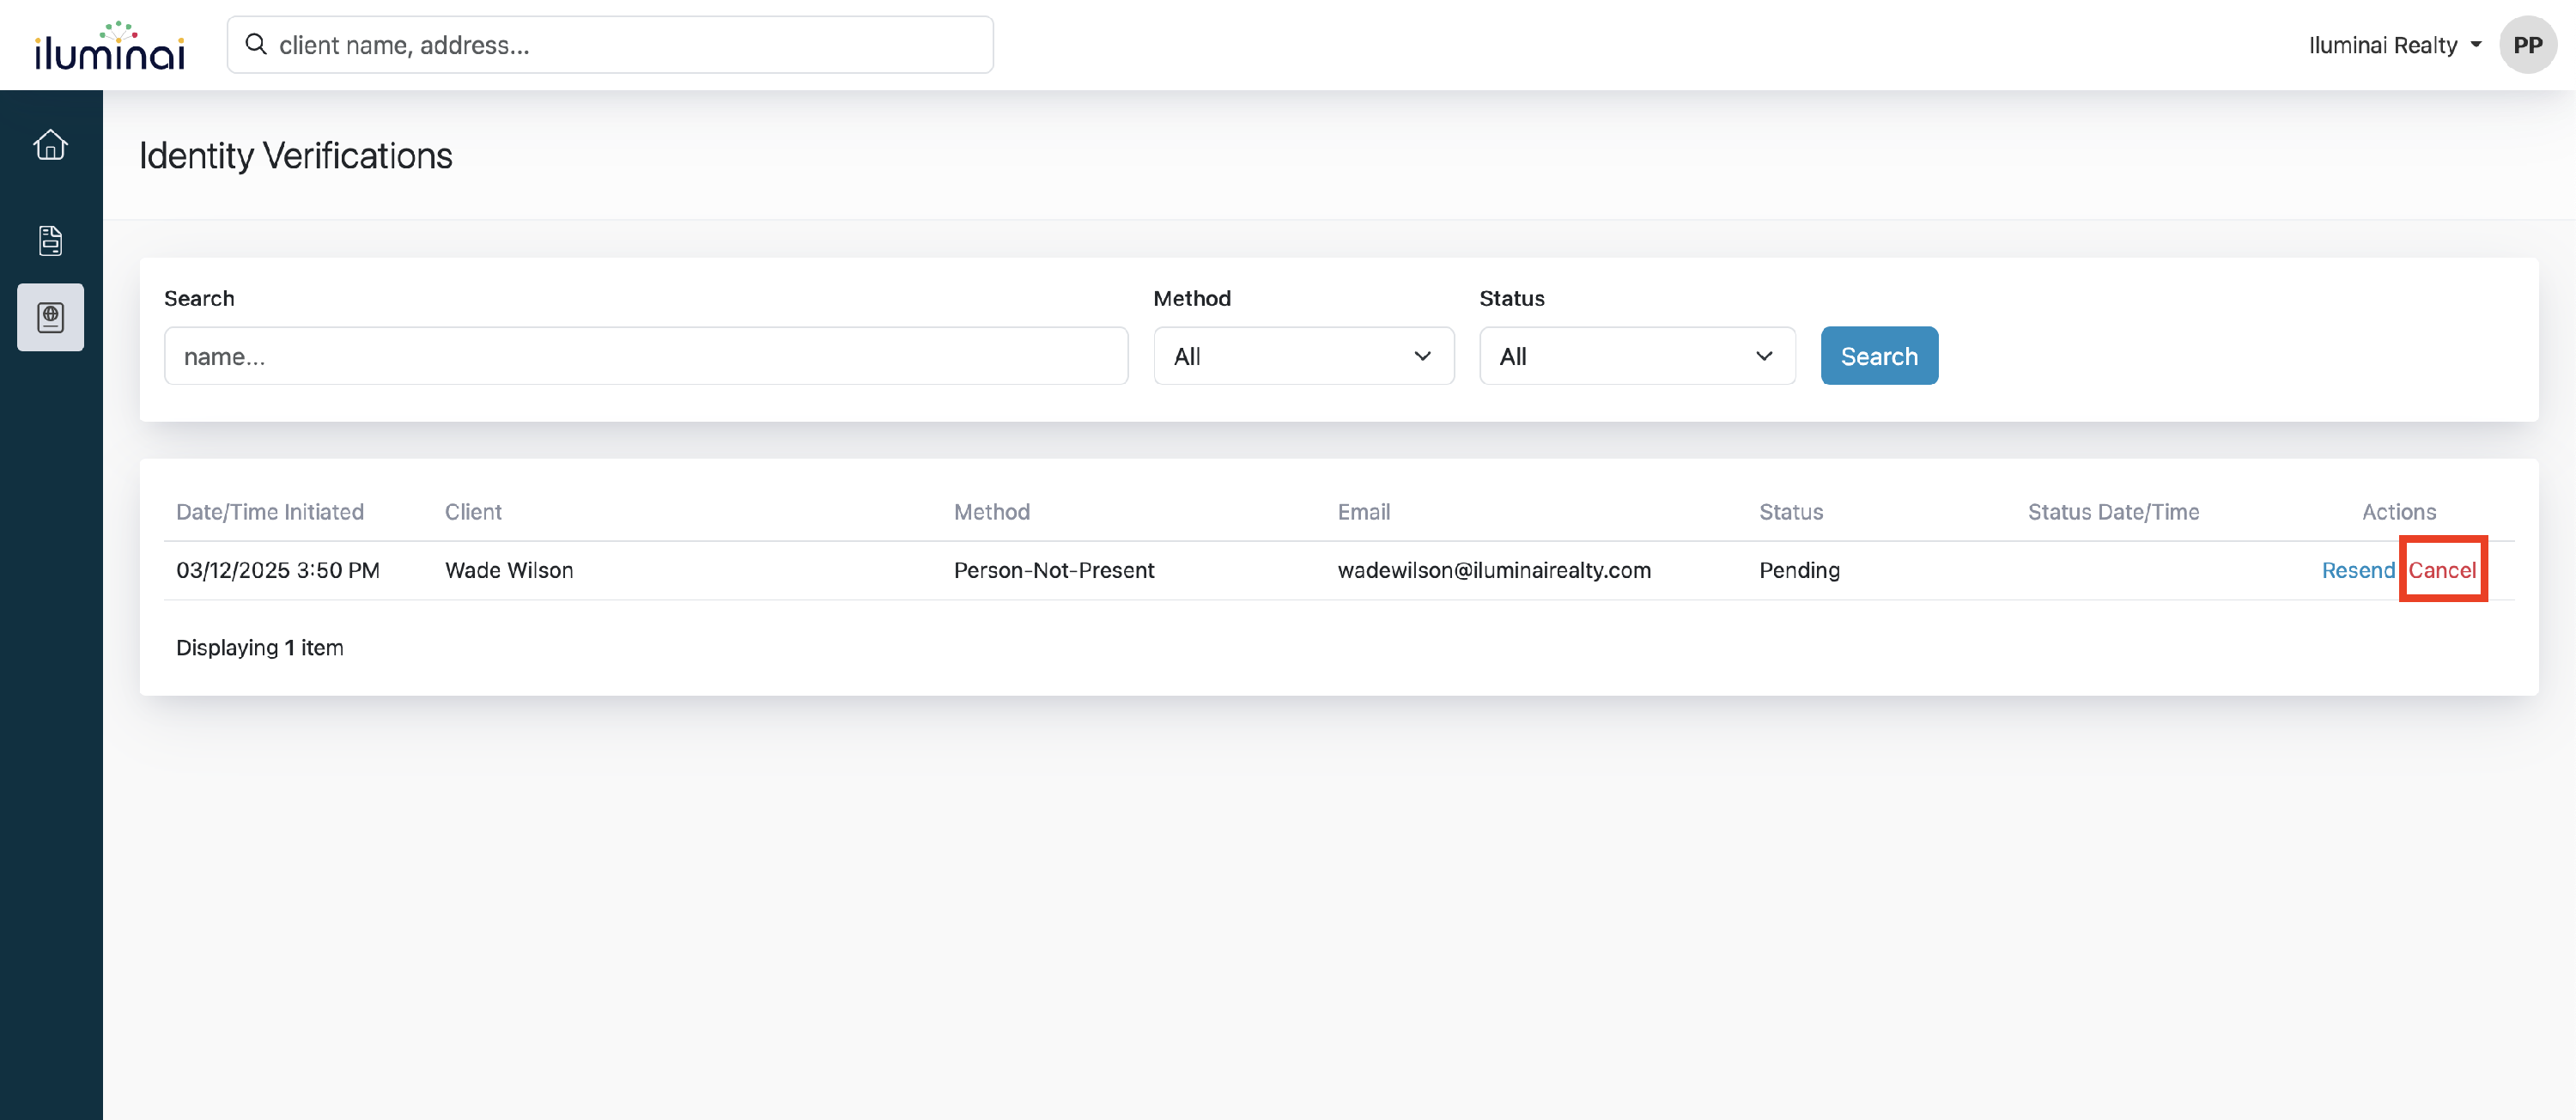
- A confirmation dialogue box will appear, click the Cancel Verification button to confirm
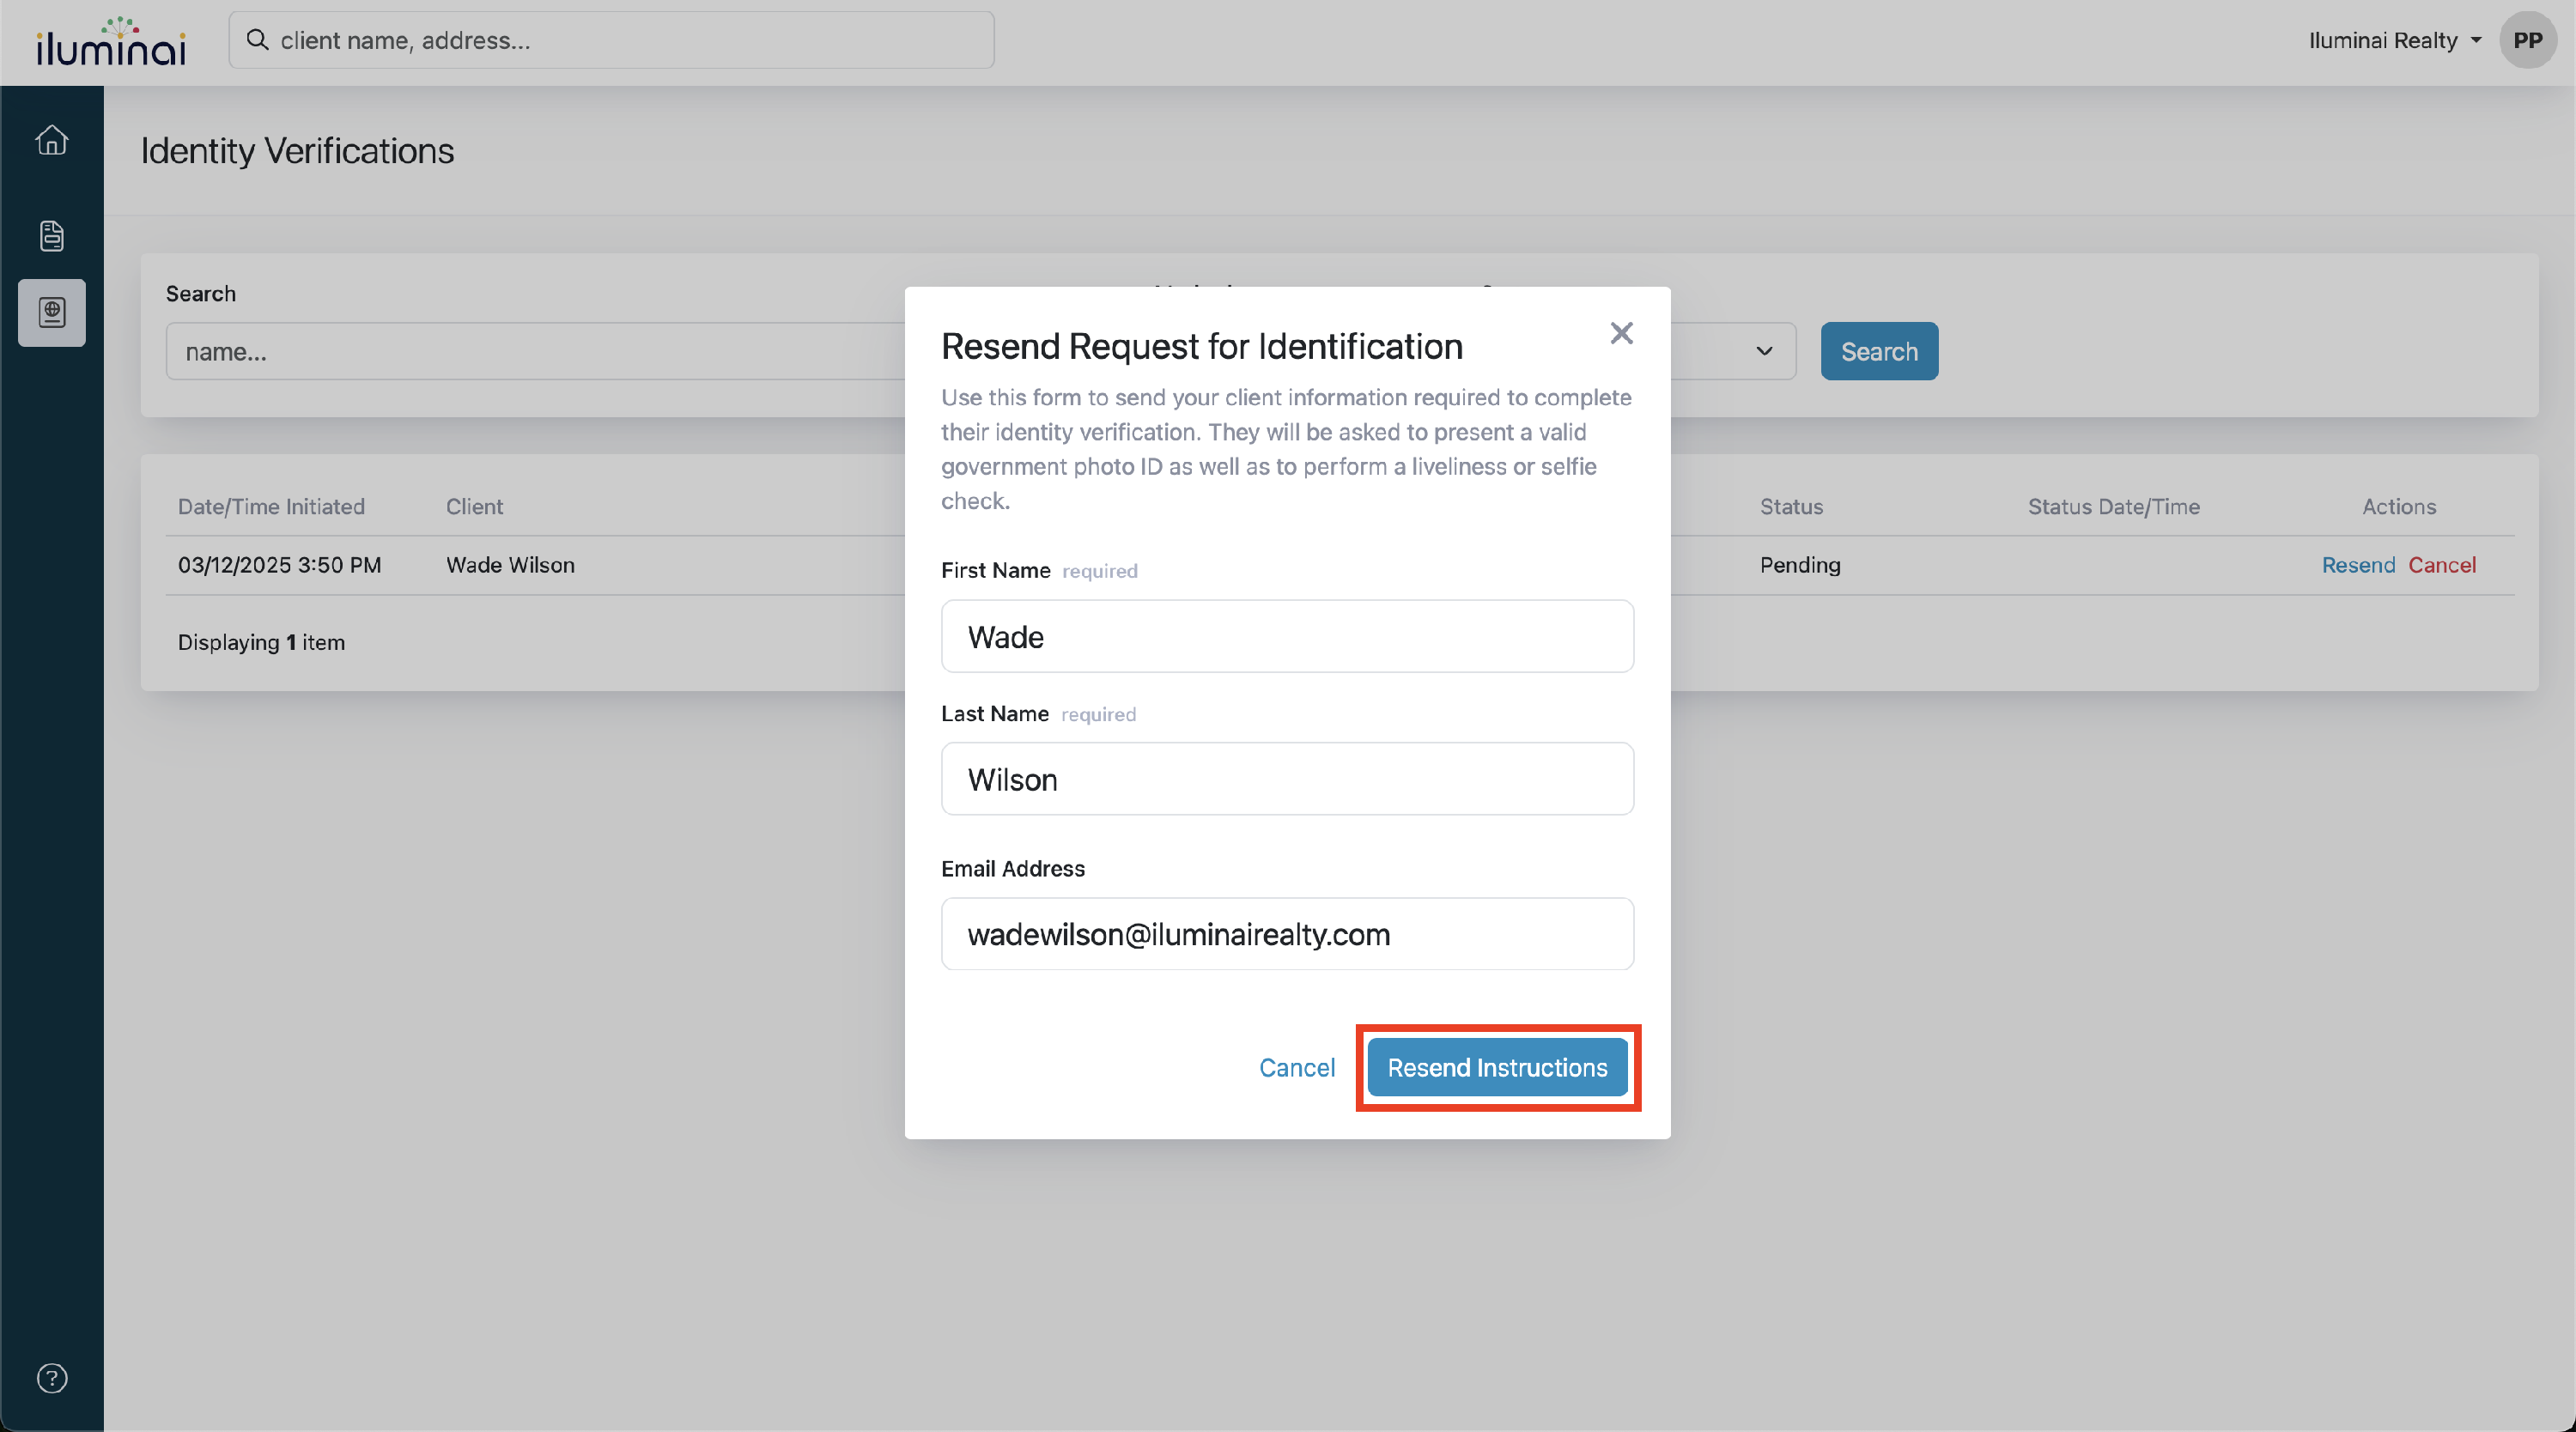
Resending an Identity Verification
To resend an Identity Verification request, follow the steps below:
- Locate the Identity Verification you'd like to resend
- Under Actions, click the blue Resend link
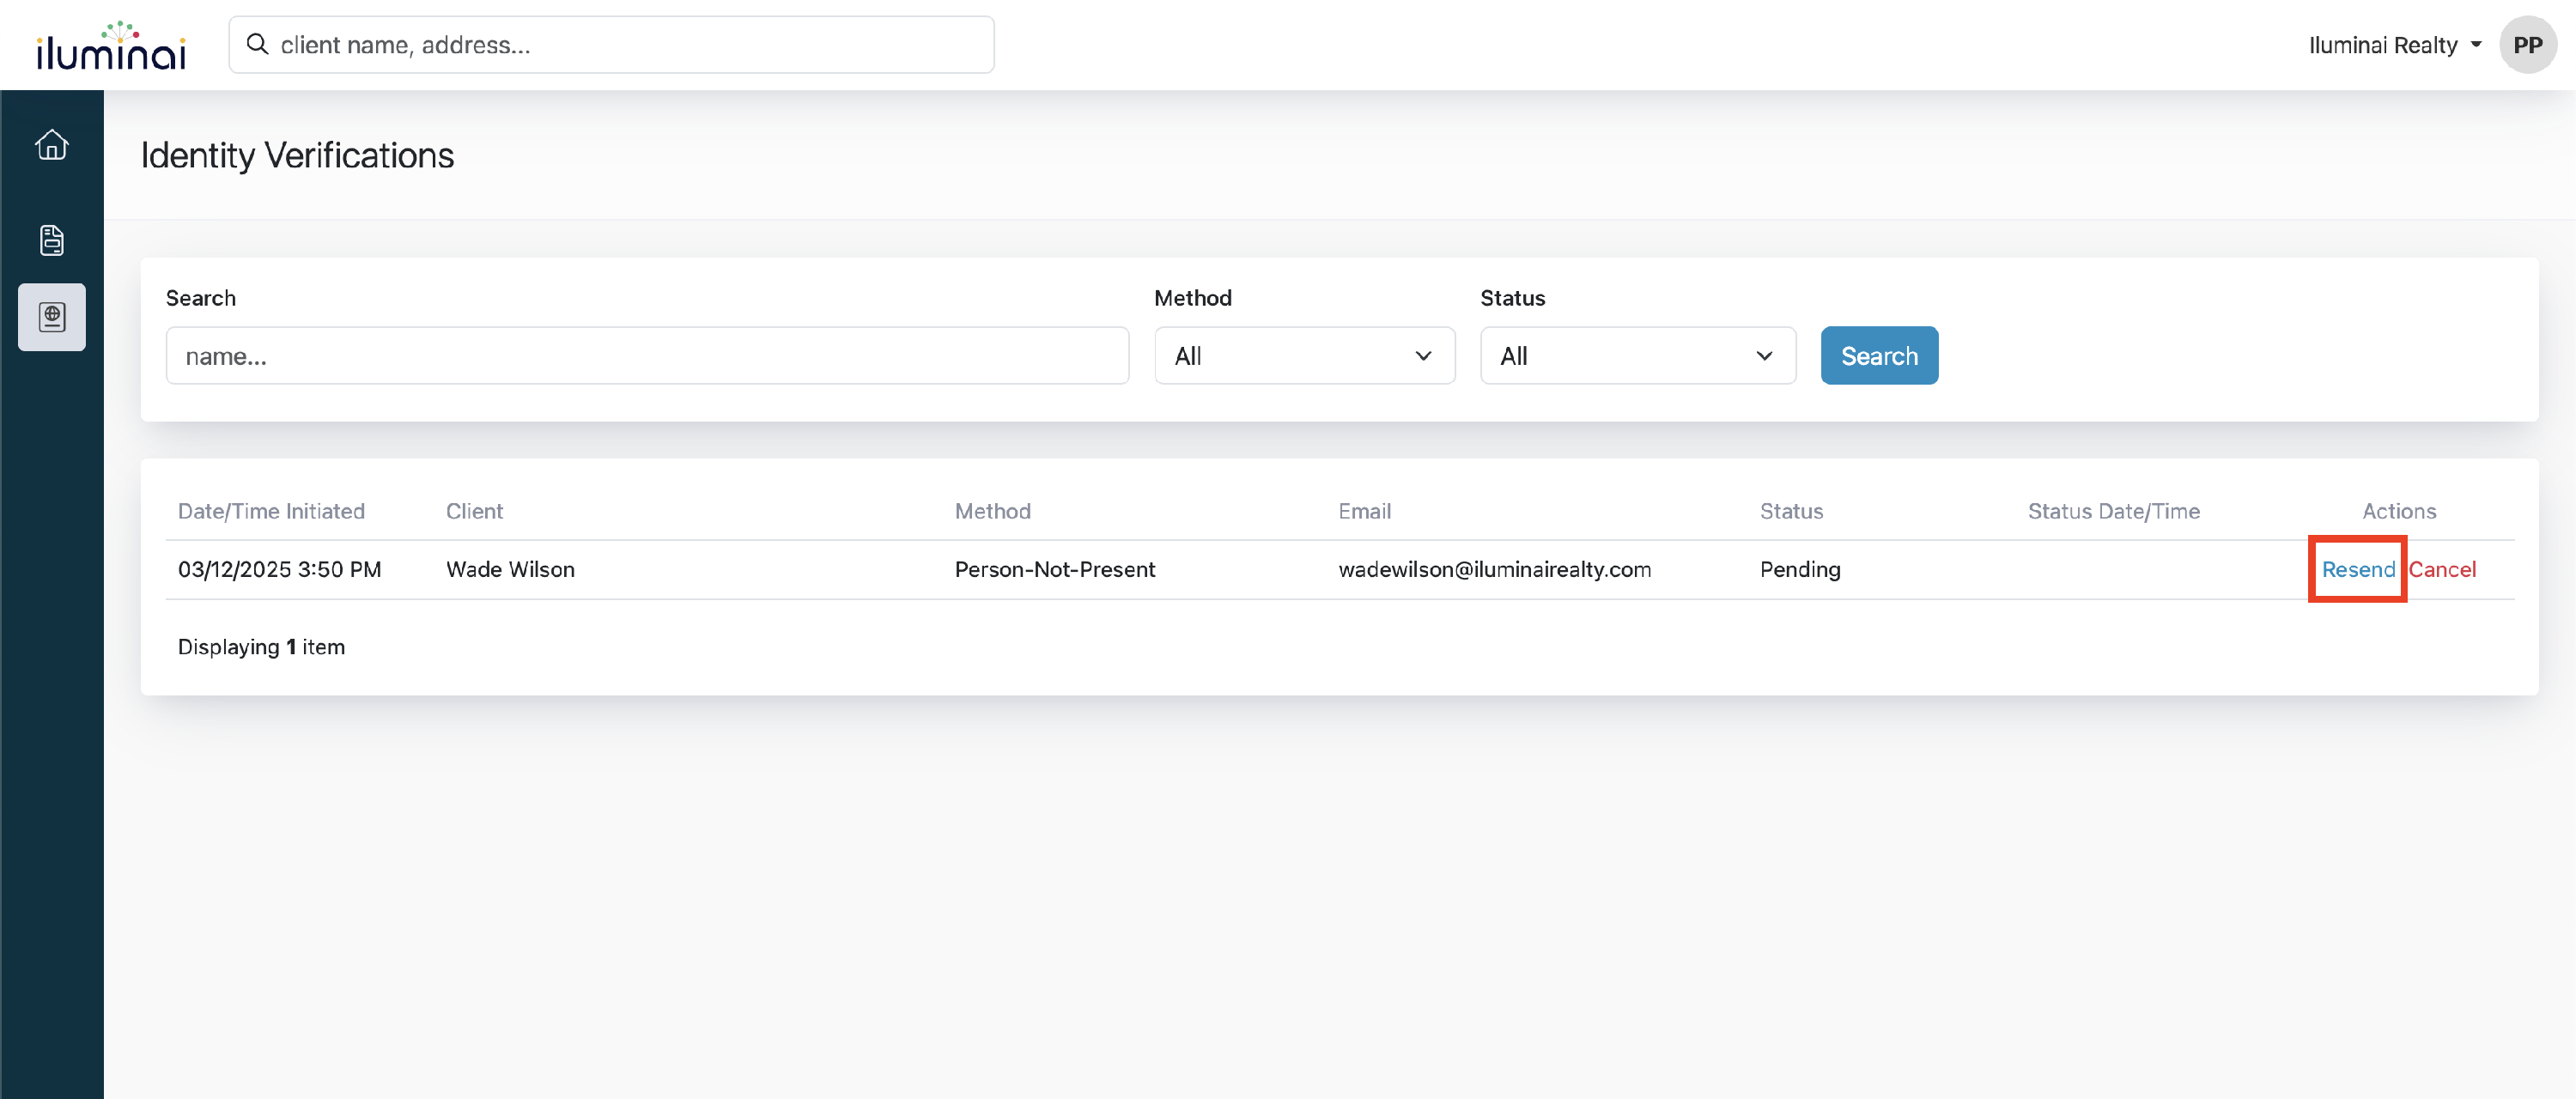
- A confirmation dialogue box will appear, allowing you to update your client's information. Confirm and resend by clicking the Resend Instructions button